2017 planner setup update
8 Feb 2017
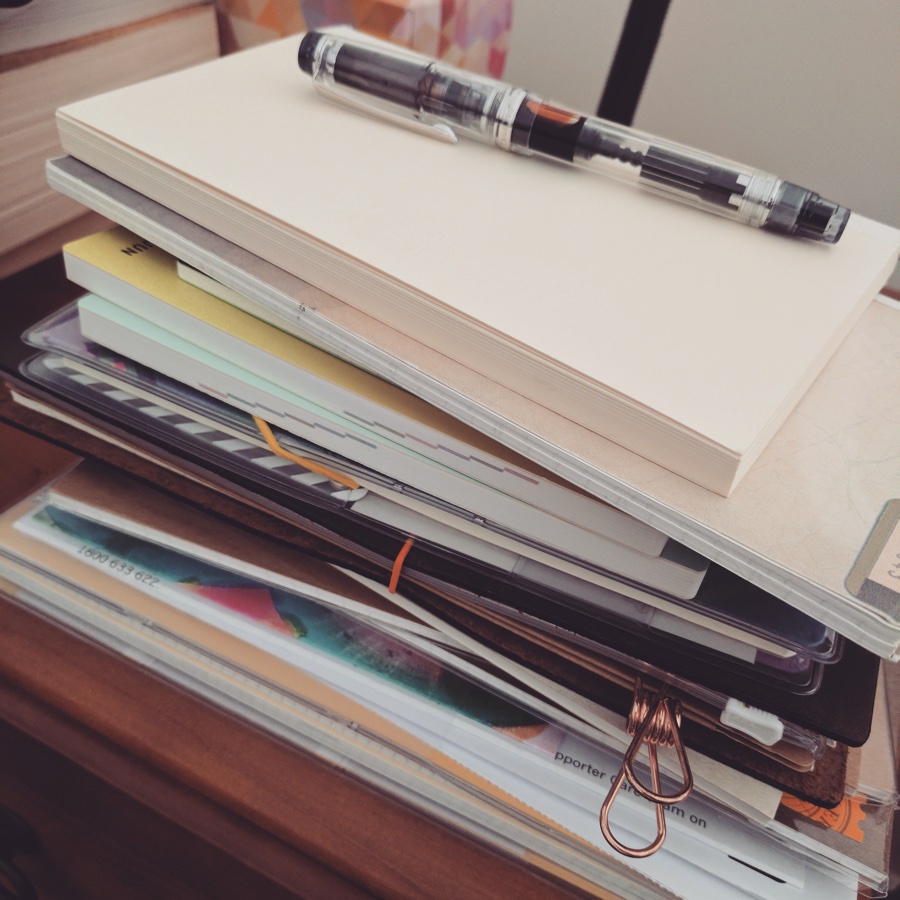
I published my 2017 planner setup post at the end of November but in December I was lucky enough to receive an offer to join the team at RescueTime. I spent December wrapping up my final freelance writing projects and getting set up for my new role.
Changing from freelancing to working a part-time job, even though the hours per week are roughly the same, means I'll have different needs for planning and managing my work. I'll no longer have the same 2-3 article per week structure, no invoicing or following up with clients to worry about, no stress about planning work weeks in advance to ensure I can pay my bills. But I will have far more tasks alongside writing actual content, as well as more communication and meetings to keep up with.
I spent quite a bit of time thinking about what kind of planner would best suit my needs in my new role, and tried different configurations of what I already had on hand. What I ended up with isn't a huge change from my original 2017 planner setup, which made it easy to make the switch.
Here's an overview of what I'm using and how, before I go into more detail:
Hobonichi Weeks: RescueTime
Jibun Techo and Hobonichi Original Avec: Main planners
Traveler's Company Notebook: Writing and notes
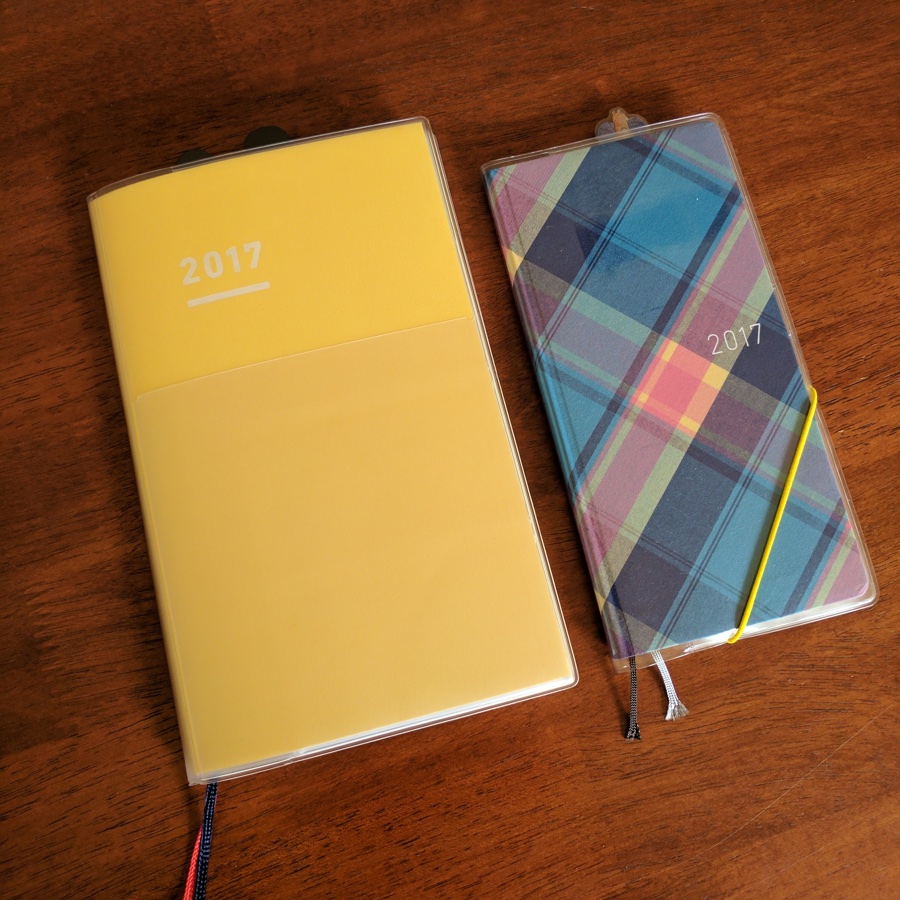
Hobonichi Weeks: work planner
Though I considered including my work planning alongside personal or Hello Code planning, ultimately I wanted to keep all my notes and plans for my job separate to everything else. Unlike freelancing, which was more flexible and fit in around whatever else I had going on, I'm working four hours every morning on RescueTime, and the rest of each weekday I work on my own projects and Hello Code. Because there's a more clear division between "job" time and non-job time, it makes sense to divide my planners this way, too.
I'm using the Hobonichi Weeks because I think about time in terms of weeks, and often plan my tasks around week blocks rather than on specific days. The Weeks has weekly and monthly views, but no daily pages. The monthly pages have small sections for each day, so this will be handy for simply planning when I'm at work and any particular work-related deadlines or meetings I need to remember.
In the weekly section, I'll plan tasks that need to be done on particular days, work hours, and re-write meetings and deadlines from the monthly pages. The weekly view has a week on the left page and a grid page on the right, for notes. So I'm using the right-hand-side page for my weekly task list. So far that's working pretty well. If I fill up that page, that seems like plenty of work to get done without overloading myself, so in that case I'll force extra tasks onto the page for the following week so I'm not overwhelmed.
One thing I love about the Weeks is that it includes a whole notes section at the back, so I can keep my notes for work and my planning all in one book. I also have some of the Weeks-sized memo books from the Hobonichi store, which are actually slightly smaller than the Weeks so you can slip them into the cover and carry it all together. This is handy for adding to that notes section in case I fill it up throughout the year.
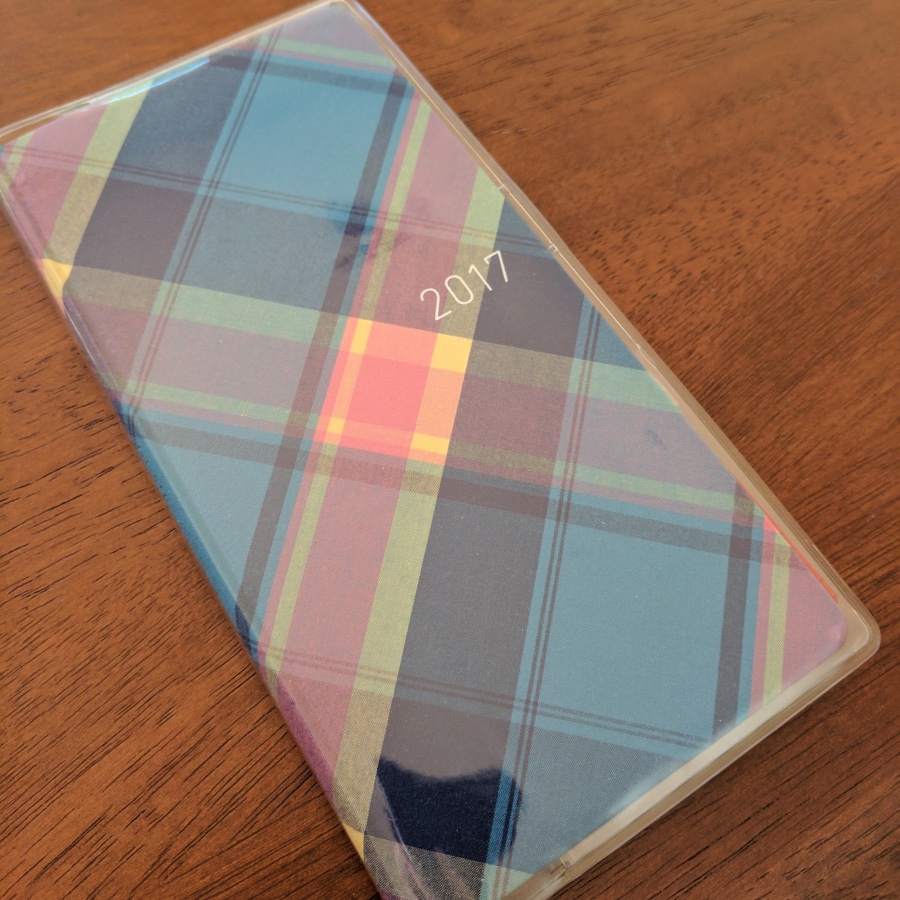
I have a hardcover Weeks, and I've added the clear Hobonichi cover which has some pockets on the inside and a pen loop. I've also added this Hobonichi bookmark in the A6/Weeks size. It's designed to go into a corner pocket on the back inside cover of your planner. The elastic can be pulled over the bottom corner of the planner to mark your page, which I think is really clever. I'm using it a bit differently, though. When I started using the Weeks I felt myself always grabbing for an elastic to close it—probably because its shape and size is so similar to the Traveler's Company Notebooks and I'm so used to closing mine with elastic after using it. I bought a Hobonichi rivet band which is designed to keep the Weeks closed, but it doesn't secure to the Weeks cover. It's just a separate, loose elastic band, and really didn't work for me. But I found that I can use this corner bookmark to hold the Weeks planner closed, rather than marking my page. I love using it like this, and would definitely do this again with any Weeks planner I have in the future.
Jibun Techo and Hobonichi Original Avec: Main planners
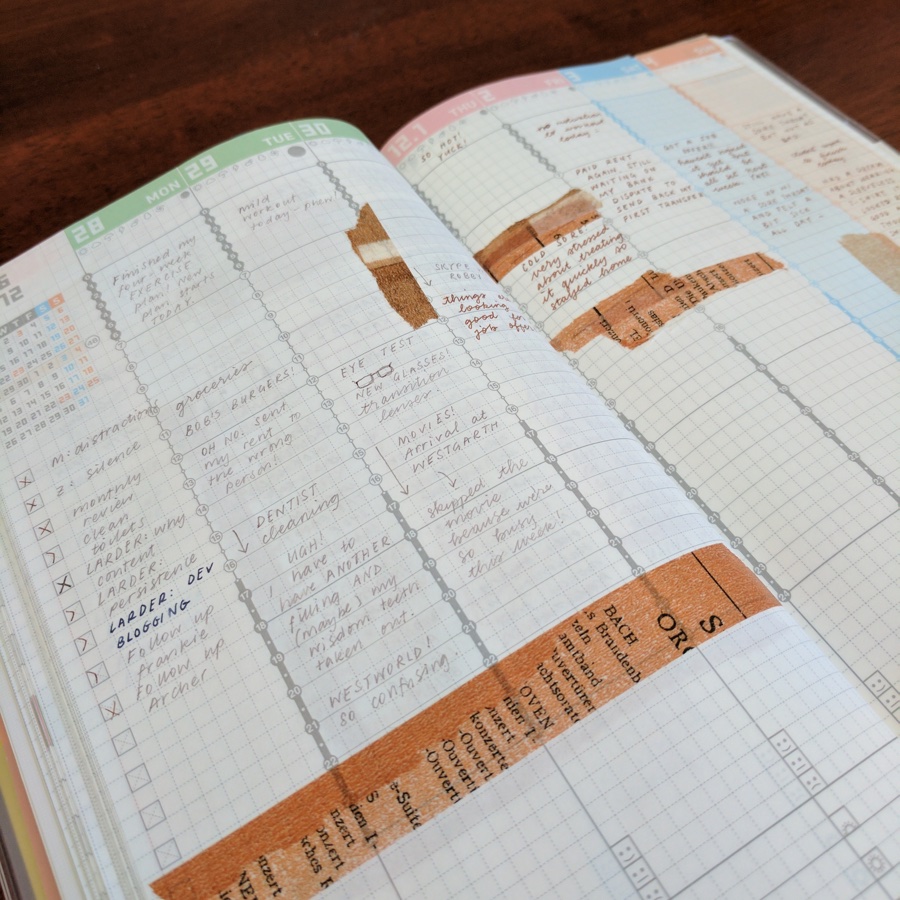
I've tried using my Jibun Techo in a variety of ways, but I've finally found a use case that works really well for me.
I'm using my Jibun as my main planner for anything that's not related to my work at RescueTime. The monthly view holds all of my events, appointments, and deadlines—anything with a due date.
On the main weekly pages I plan my week for everything except my new job. I use the to-do list down the side to write down tasks I want to do sometime during the week that don't have hard deadlines. In the daily columns I mark in any events or appointments I have on.
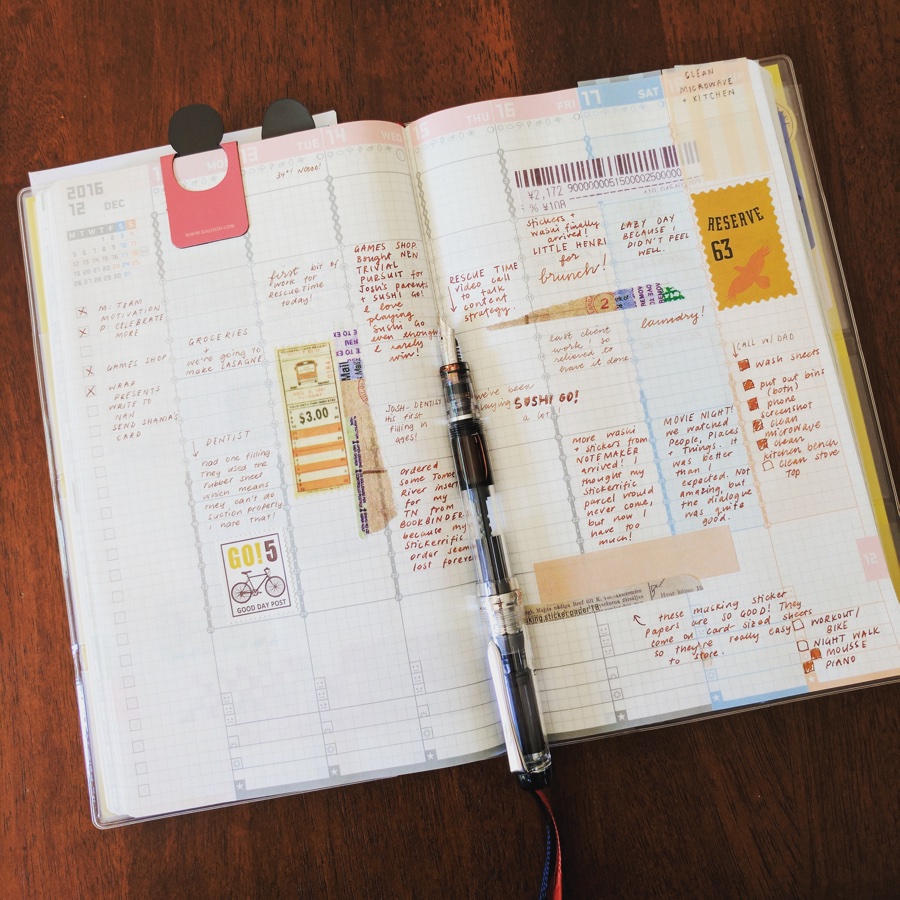
After each day has passed I go back and fill in the daily column with highlight journalling. I just write in short notes about the highlights of the day. It might be somewhere I went, or what happened at an event I had on, why an appointment was cancelled, how I was feeling that day, or what the weather was like. I don't worry about filling in the whole column, though I usually come close.
At the end of the week I use stickers and washi tape to fill in the gaps in the daily columns and make the pages a little more interesting.
So the Jibun is a hybrid planner. It's a planner first, and a journal after the day is over.
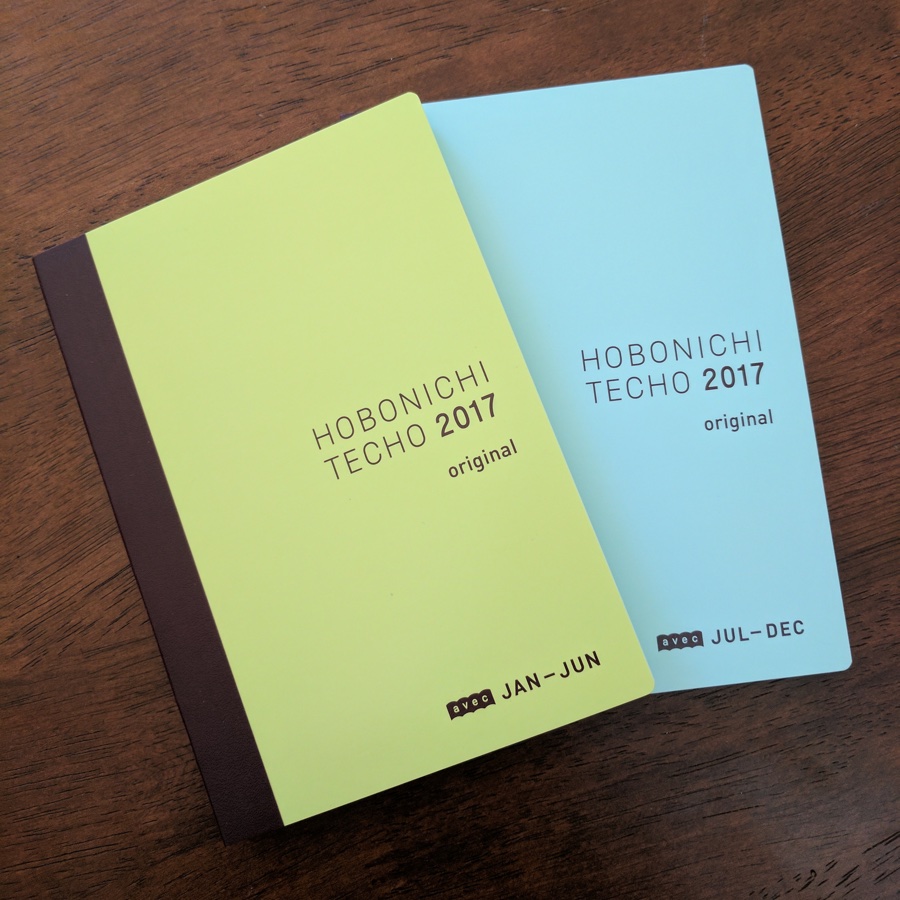
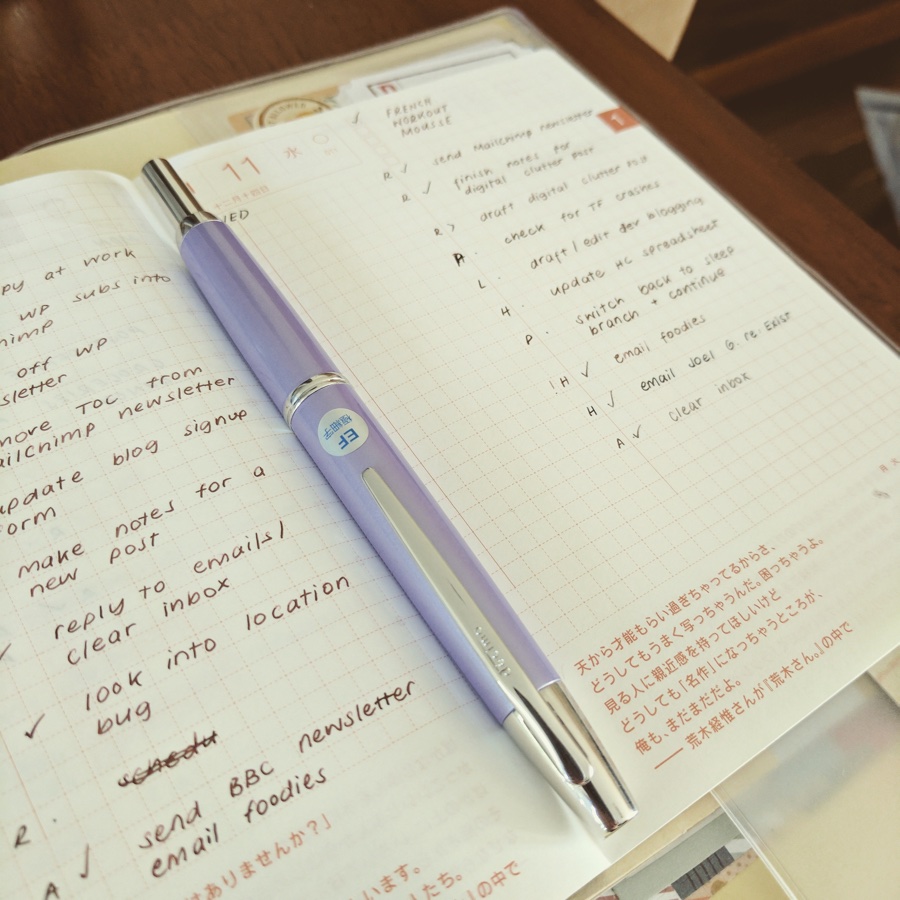
My A6 Hobonichi Avec lives inside my Jibun. I'm not using the monthly section of the Avec at all, but just using the daily pages for my daily to-do list. I've tried writing out all my tasks in the Jibun's daily columns before, but there wasn't enough room for everything. I do need a daily planner, though, as I like having everything I want to work on each day in one big list.
Traveler's Company Notebook: Writing and notes
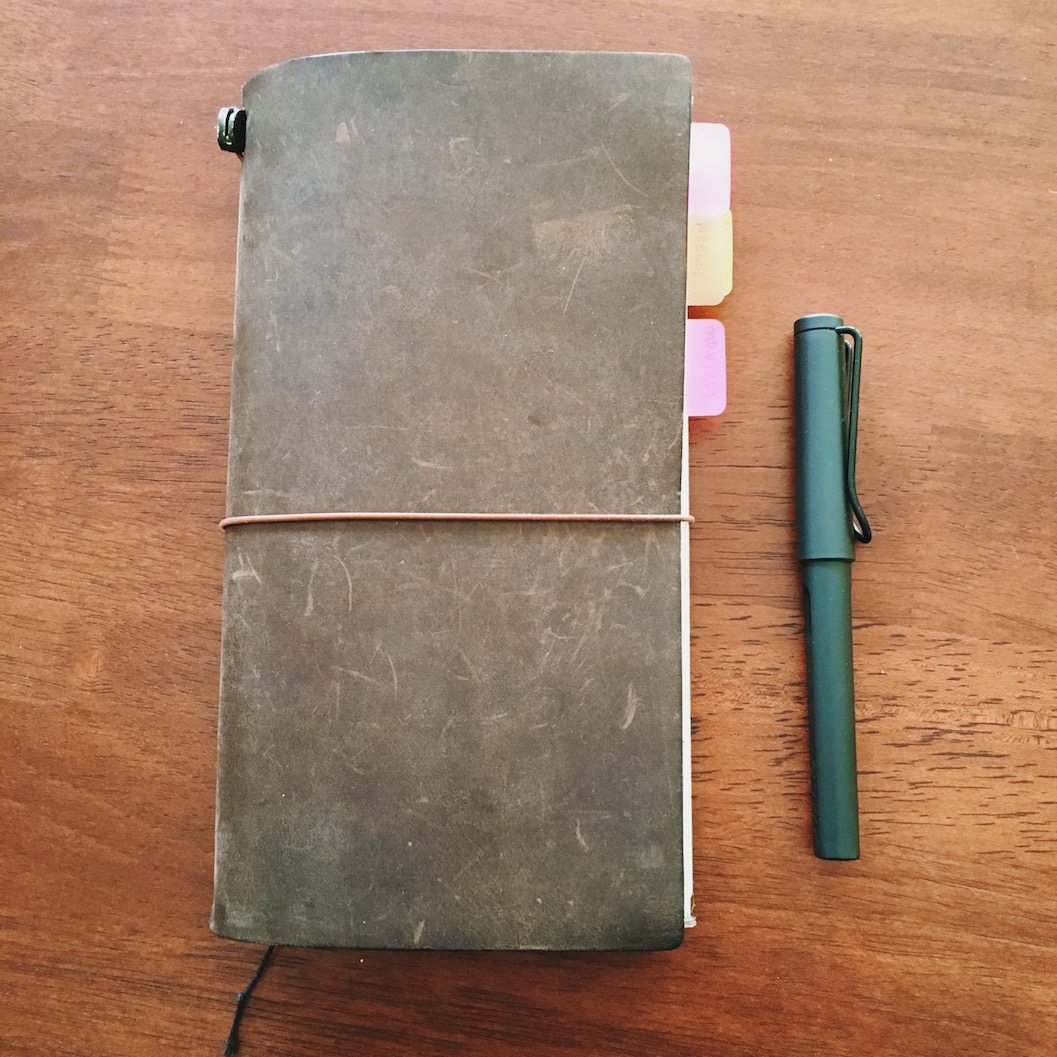
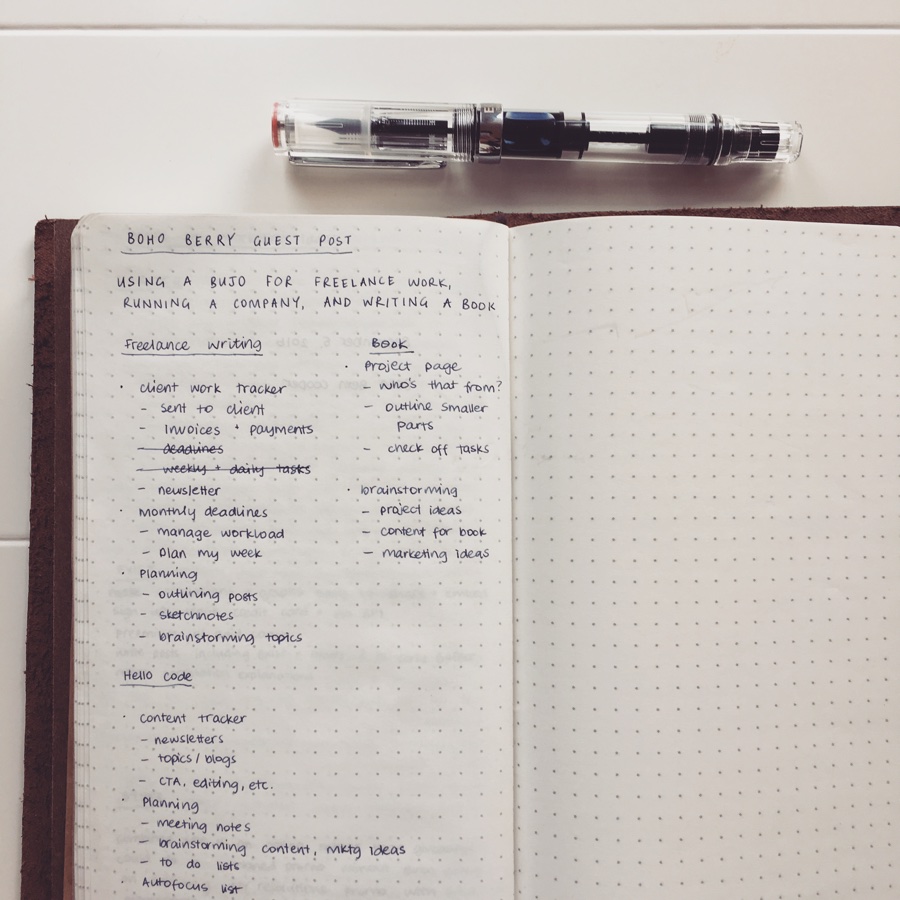
Finally, my Traveler's Company Notebook, which has two Tomoe River inserts. One is for all kinds of notes, brainstorming, ideas, lists, and outlining blog posts. The other is for research notes when I'm writing articles for work. These tend to take up a lot of room, so I'd fill up my Weeks very quickly if I put them in there, especially since the Weeks pages are smaller. And I like having all my research notes in a single notebook without anything else in-between, anyway, so I can reference them again later if I need to.
Hopefully that's not too confusing! Just to go over it again, but more simply, here's how my setup works:
In the mornings I work from my Hobonichi Weeks. The Weeks includes all my planning and notes related to my work at RescueTime.
When I'm not at work I use my Jibun Techo for monthly and weekly planning and my Hobonichi Avec for daily planning. After a day is over I go back and write about the highlights of the day in my Jibun Techo and decorate it with stickers and washi tape.
For notes and writing I use my Traveler's Company Notebook. Notes for articles I write for my new job go into one insert, and everything else goes into the second one.